You roast a lovely chocolatey blend. You spoon some grounds into an empty pod, seal it, and brew. The cup tastes thin. Or a few grounds swim around at the bottom. Annoying, right? The coffee was fine; the pod system needs work.
There are two quite different jobs hiding inside the question “How do I package coffee into a K-Cup?” One is filling a reusable filter for breakfast. The other is making a sealed, labeled product for customers to take home. This guide focuses on the second job: a repeatable way for roasters and café brands to make K-Cup-compatible pods, check their quality, and decide when production is worth scaling.
Get the coffee, cup, filter, and lid to behave together. Then build a process you can repeat on a busy Tuesday, not just during one lucky trial.
First, decide what kind of pod you’re making
A reusable brewer filter is not a retail coffee pod
For home use, a refillable filter is wonderfully uncomplicated. Add ground coffee, close its reusable lid, brew, wash, repeat. It is not the same as a disposable cup with a filter inside and a heat-sealed barrier lid. A closed reusable filter does not make coffee shelf-stable, and a successful morning brew does not qualify a sealed product for sale.
For saleable pods, work backwards from the customer’s brewer, sales channel, and likely storage time. Those answers shape materials, testing, and packaging claims.
Pick a production route before buying a machine
| Route | Best use | Still your responsibility |
|---|---|---|
| Hand-fill and small sealer | Recipe trials, local pilots, limited runs | Consistent dose, clean seals, realistic freshness window, compliant operations |
| Co-packer | Launching without running your own line | Coffee and pack specifications, samples, MOQ, lead time, release criteria |
| In-house filling line | Steady demand and a team ready to operate it | Training, utilities, maintenance, quality records, material supply |
An old Coffee Forums discussion about packaging coffee into K-Cups shows how long roasters have wrestled with empty cups, printed lids, manual sealers, and automation. Useful questions, yes. But those posts are from 2015. Treat their prices, equipment offers, and shelf-life claims as dated anecdotes, not today’s buying guide.
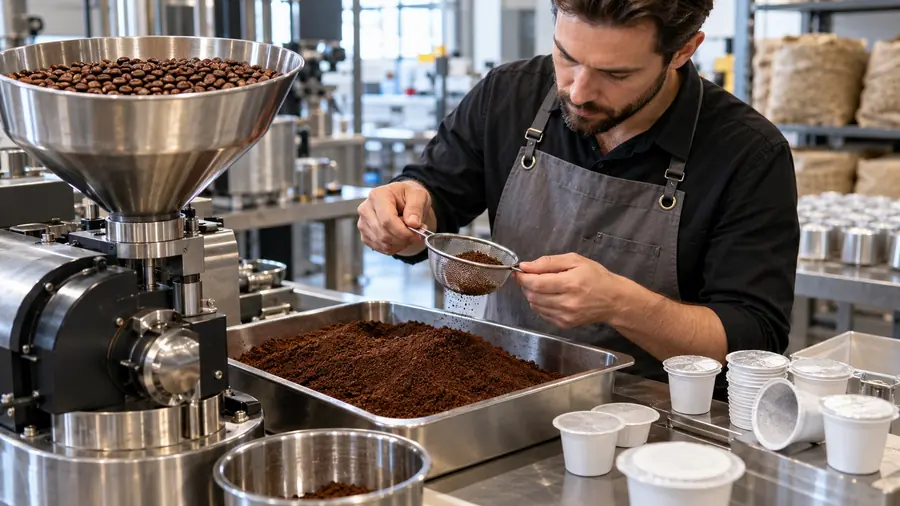
Get the cup, filter, lid, and coffee to work together
Think of a pod like a tiny plumbing system. The brewer pierces it, water enters, coffee resists that flow, and brewed liquid exits through a filter. Changing one component changes the cup in your mug. That’s why a cheap cup that seems to fit can still produce bad coffee.
Start with fit, not a supplier’s “universal” claim
Ask for samples of the complete cup-and-lid combination. Check height, rim, filter placement, and needle puncture. Run them through the actual Keurig models your customers use, including relevant commercial brewers. Keep notes by model and brew setting.
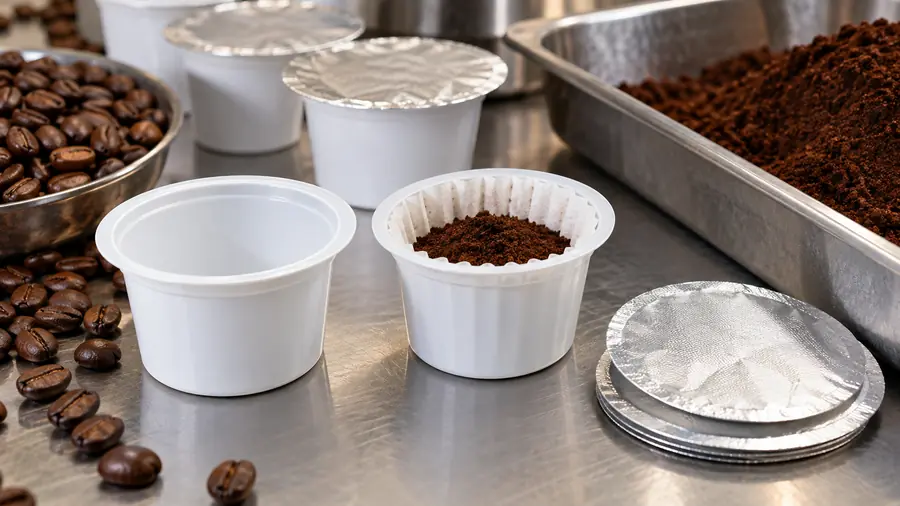
Many commercial cups use polypropylene (PP), sometimes with an oxygen-barrier layer. The filter might be preinstalled or placed during packing. The lid needs a sealant compatible with that cup rim and enough barrier for the intended shelf life. A compostable-looking cup isn’t automatically certified compostable; a recyclable resin isn’t necessarily accepted locally.
| Component | What to ask the supplier | What to test yourself |
|---|---|---|
| Empty cup | Dimensions, resin/barrier structure, intended food-contact use | Brewer fit, puncture, cracks, handling |
| Filter insert | Material, attachment method, supplied preinstalled or loose | Flow rate, fines in cup, position after filling |
| Lid stock | Cup compatibility, sealant layer, printing specification | Seal peel, leaks, needle puncture, aroma retention |
| Ground coffee | Roast/lot, particle-size range, handling time | Dose, extraction, sensory performance, shelf-life change |
For a U.S. product, request documentation for the intended food-contact use and conditions, not a vague “food-grade” sticker. The FDA’s explanation of food-contact packaging is a good starting point when reviewing cup, filter, ink, and lid supplier claims. Other markets have their own rules.
Dial in the coffee as a brew, not a spreadsheet number
How many grams belong in a pod? There’s no magic number. Cup volume, filter, roast, grind, and brew size all matter. Start with a dose that doesn’t crowd the rim. Weigh ten trial fills, brew them, and change one variable at a time.
A grind that’s too coarse may send water through too easily; an overly fine grind can slow flow or push fines into the mug. Try a controlled middle setting, then taste and measure. Don’t tamp a K-Cup-compatible pod like an espresso basket. Gentle settling can help with dosing; hard compression can change water flow in ways your little cup doesn’t need.
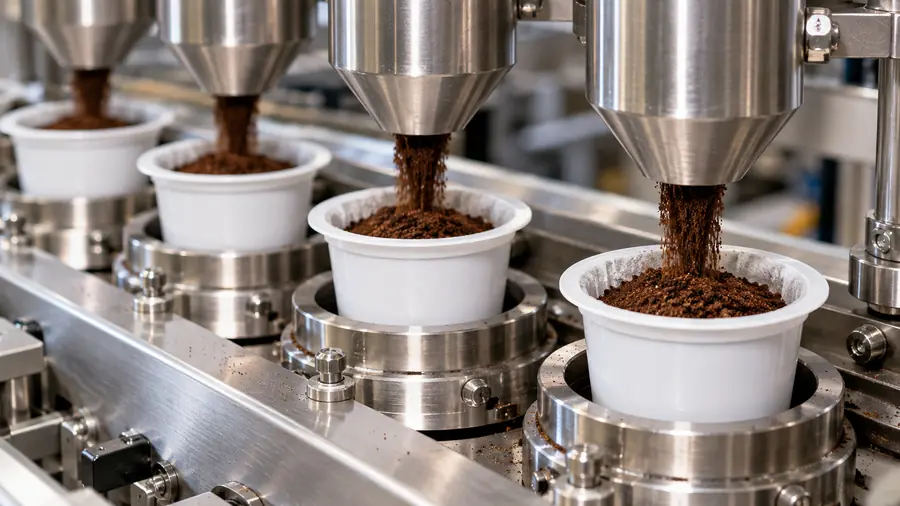
Run a short pilot before you order pallets
Say your café wants a house blend in a 12-count retail carton. Don’t buy thousands of printed lids on day one. Start with a plain compatible cup and a few small, documented batches.
Make a simple trial sheet: coffee lot and roast date; grind setting; cup, filter, and lid lot; target and measured fill weight; brew volume and brewer model; brew time; tasting notes; seal result. Compare two grind settings and two doses first. If you also change the roast, filter, and brew button in the same test, you’ll learn exactly nothing. Well, almost nothing.
Try a freshly packed pod and a held sample under realistic storage conditions. If you’re making a commercial freshness claim, arrange a more rigorous shelf-life study rather than judging one forgotten carton. Your pilot should tell you what starts to change, not magically predict six months from one good-tasting cup.
Keep an eye on the rim. Coffee dust there is like crumbs caught in a jar lid: the parts might close, but not well. Another common mistake is stuffing in more grounds to make a stronger cup. That leaves less headspace, can interfere with the lid, and may upset extraction. Adjust the grind, filter, dose, or brew size as a system.
Also ask whether staff can keep cup orientation consistent, where the code will print, and whether cartons protect lids from crushing. Better now than after a truckload arrives.
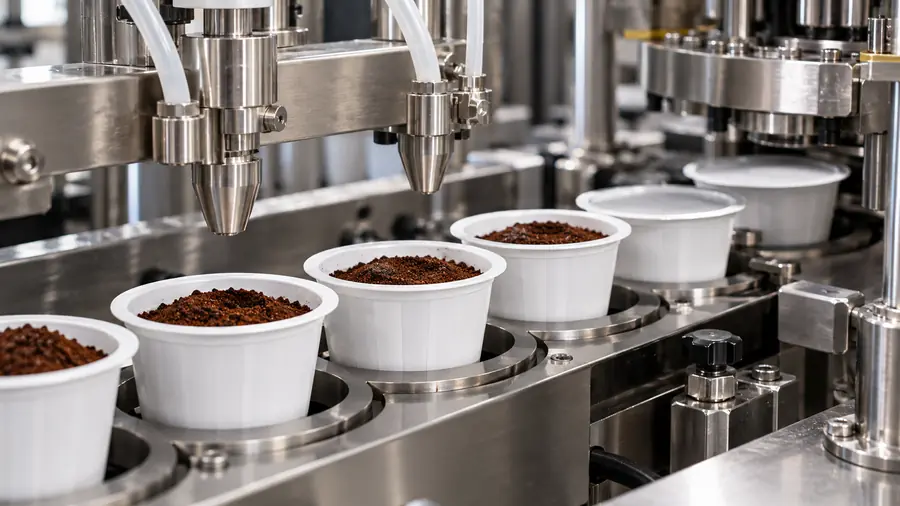
Follow the commercial filling and sealing sequence
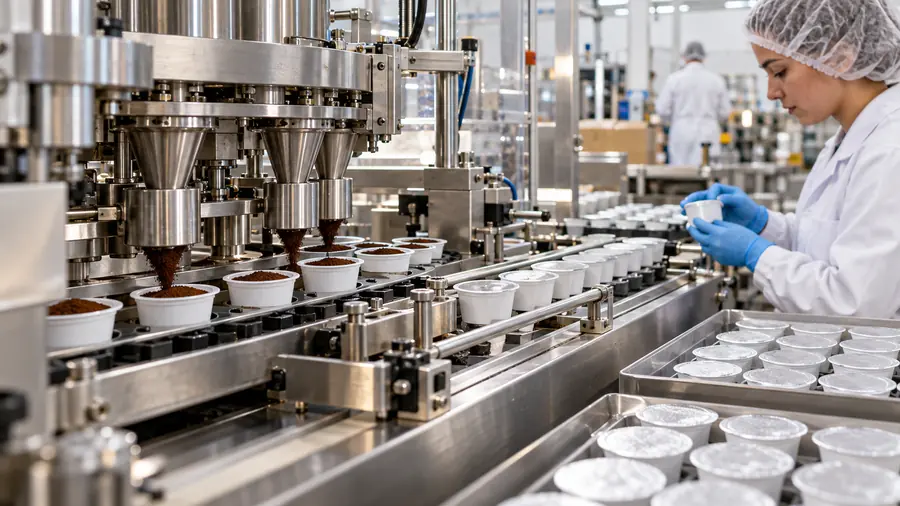
The line can be a person with a tabletop sealer or a set of automated stations. The sequence stays recognizably similar. SANEU’s more detailed filling and sealing sequence covers the individual stations; here is how to think about them as one product-quality chain.
Prepare the coffee and keep it moving
Roast for flavor in the customer’s brewer, not only for your café espresso recipe. Establish a repeatable rest-and-grind routine. Fresh coffee releases carbon dioxide; grinding exposes more surface area to air. Record handling time, cover waiting grounds, and clean the grinder and feed path.
Feed cups, fit filters, and dose cleanly
Load cups into a holder or feed system. If filters are not preinstalled, place and inspect them before dosing. A crooked filter is a tiny problem that turns into a gritty mug later.
Set a target fill weight and check it throughout the run. An automatic auger may dose the coffee, but flow changes with grind, oil, humidity, and hopper level. A neat setting doesn’t prove a neat fill distribution. Remove loose grounds from the sealing land. That last wipe is boring. It matters.
Reduce air if needed, seal, and code
For a retail product intended to sit in distribution, a nitrogen-flushing step can displace some air before the lid is sealed. That is modified-atmosphere packaging, not a flavor additive. A well-matched lid and cup then need sufficient, controlled heat, pressure, and dwell time to form a consistent seal. Follow the chosen material supplier and equipment manufacturer’s validated settings; random extra heat may deform a rim or spoil a lid.
Code the pod or carton with a traceable lot and appropriate date information. Check placement and avoid crushing lids. Test automatic reject functions with bad samples; give manual inspectors clear defect examples.
Nitrogen at the nozzle is not oxygen in the pod
Here’s a trap: “We use high-purity nitrogen” tells you about the gas entering the line. It does not tell you how much oxygen remains inside the sealed pod. Air can stay between coffee particles, mix back in while the lid is positioned, or enter through a poor seal. If residual oxygen matters to your freshness target, measure finished packs after sealing and during storage. There is no one legal oxygen percentage that fits every coffee and package.
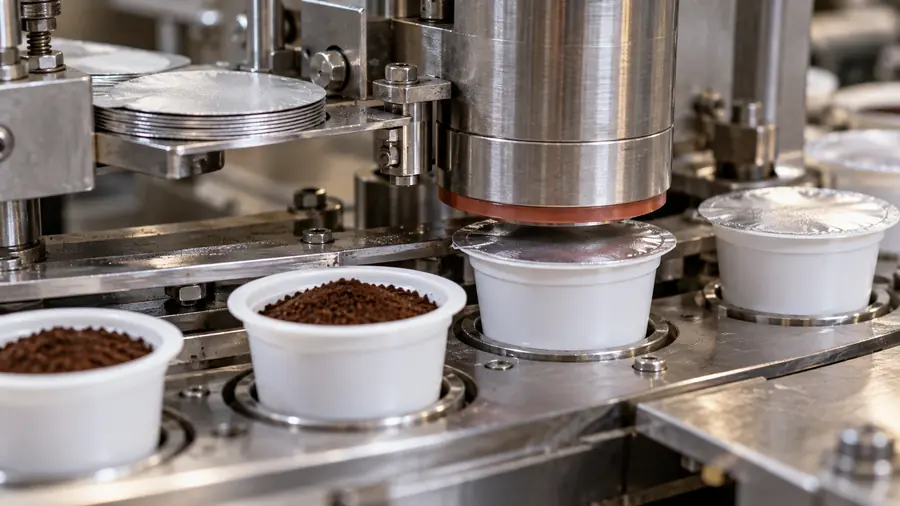
Check the pod before it leaves the line
Quality control needn’t begin with a giant lab. Set written limits from your trials. Pull samples at startup, after changes, and during the run. Check fill weight, cup and filter, lid centering, rim, code, and carton count.
Test seal integrity with a method suited to your package and equipment. A visible wrinkle or coffee on the rim is an immediate warning, but an attractive lid isn’t proof of a sound seal. A controlled peel or leak test, as appropriate, is better evidence. If your shelf-life plan relies on modified atmosphere, take finished-pack oxygen readings with a suitable analyzer and a documented sampling method. Test again after storage: oxygen can rise if a seal or barrier fails. Don’t assume a sample taken at the gas nozzle represents the coffee inside the sealed pod.
And brew the pods. Really brew them. Use your target machine models, check whether the needles pierce cleanly, measure the volume, and taste against an agreed reference. A lab result can’t tell you that one brewer chokes on your filter.
| What you notice | Likely suspects | First sensible check |
|---|---|---|
| Weak, thin coffee | Coarse grind, low dose, too large a brew | Weigh pods and compare controlled brews |
| Fines in the mug | Damaged/misaligned filter, overfill, very fine grind | Open failed pods and inspect filter placement |
| Lid lifts or leaks | Dirty rim, mismatched lid/cup, poor seal setting | Check seal land and test a controlled seal sample |
| Oxygen rises in storage | Leak, barrier issue, sampling error | Repeat finished-pack test and inspect seams |
| Pod jams or brews poorly | Cup geometry, lid thickness, filter flow | Trial the exact brewer model and pack lot |
Hold samples from each lot under defined conditions. Assess flavor and seal performance at intervals that match your proposed best-before date. A printed date is a promise backed by evidence, not a decoration. Trace coffee, cups, filters, lids, and production settings to a batch so you can investigate complaints without guessing.
For a U.S. commercial operation, review applicable FDA current good manufacturing practices and preventive-control requirements. Facility status and exemptions matter; ask a qualified food-safety adviser about your situation. Keep sanitation, foreign-material prevention, packaging control, and changeover checks part of the routine. A nitrogen system cannot fix poor hygiene.
Make the numbers work: hand sealing, co-packing, or automation
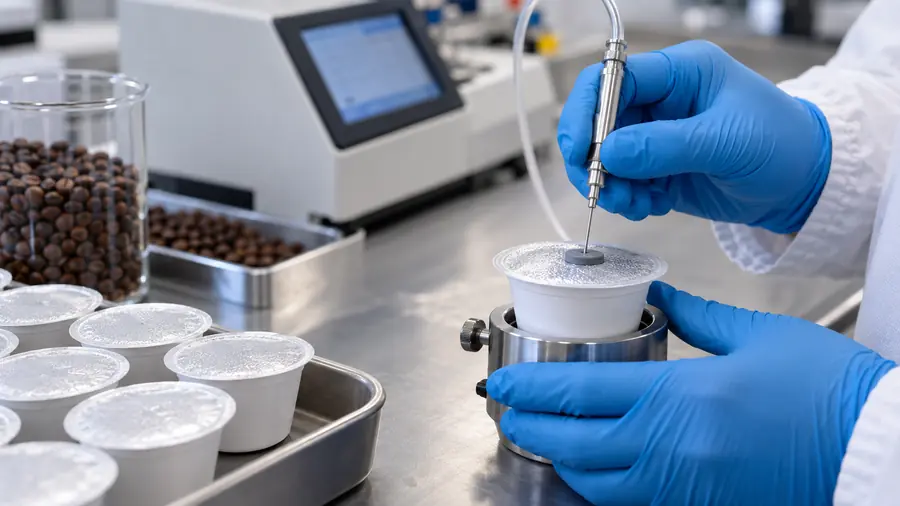
Pilot work can use a small-batch sealing setup. It gives you room to change coffee and artwork before you commit. But don’t mistake “pods sealed per hour” for sellable pods per hour. People also load cups, refill coffee, check weights, handle rejects, pack cartons, and clean up. If a café team already runs flat out, that labor is not free.
Here’s a hypothetical comparison. Suppose one shift produces 2,000 filled pods, but 100 fail inspection and another 100 are used for setup, testing, or samples. That’s 1,800 saleable pods. At 12 per carton, you have 150 cartons, not 167. Now add material costs, time, freight, and the value of the coffee inside each rejected cup. Compare that real unit cost with a co-packer’s written quote, minimum order quantity, lead time, and sample-approval process.
Co-packing can make sense when your brand wants to test demand without operating machinery. It’s especially useful when you’re already selling beans but don’t have packaging staff. An in-house line becomes more attractive when orders are steady, specifications are stable, and control over scheduling matters. Review K-Cup filling machines by verified cup compatibility, changeover time, utilities, service, and measured output with your coffee—not the highest brochure speed.
Channels change the math. A café may need a small retail box; office-coffee supply may favor bulk cases; hotels may prize guest presentation. Co-packers also face frequent changeovers. Don’t optimize the wrong line.
Box, label, and release your first sellable batch
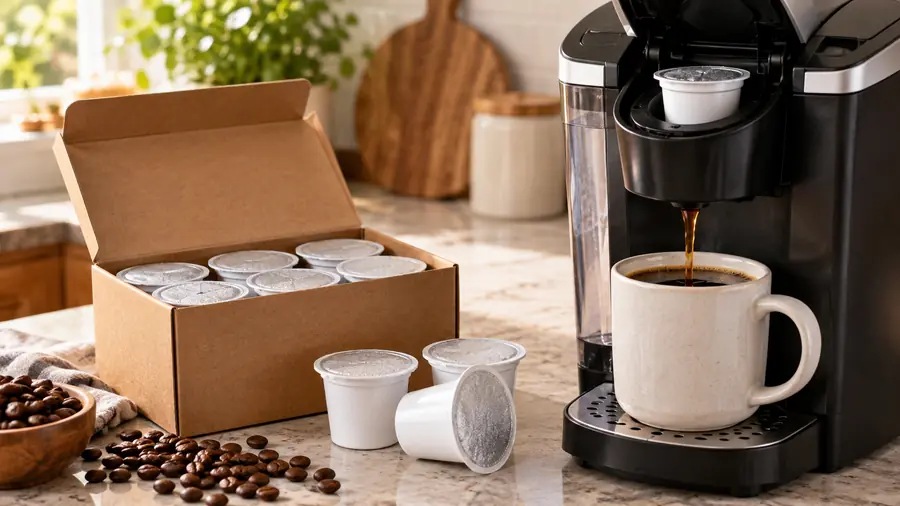
A printed lid is not your entire consumer label. Check the rules in the market where the pods will be sold: product identity, net quantity, business information, claims, and any other applicable labeling elements. Review artwork before printing thousands of lids or cartons. Don’t add “recyclable,” “compostable,” or a long shelf-life promise without support for that exact finished product and sales market.
Put the right lot and date on the specified surface. Verify legibility after handling and shipping trials. Confirm the carton count, seal checks, oxygen checks if applicable, brewer tests, and retained samples before releasing the batch. Then protect cartons from moisture, excess heat, and crushing in storage and transit. You have made a good coffee pod only when the customer opens a good coffee pod.
Conclusion
Packaging coffee into K-Cup-compatible pods isn’t just filling little plastic cups. It’s a chain of small decisions: the coffee, filter, cup, lid, seal, storage, and brewer all get a vote. Start with a modest pilot. Write down what works. Validate the sealed pod and its actual brew, then choose handwork, co-packing, or a line based on saleable output. That is less glamorous than buying equipment on day one. It is also how you avoid a shelf full of pods that look perfect and taste, well, not quite right.
FAQs
Can I fill and seal empty K-Cup-compatible cups myself?
Yes, if you have compatible empty cups, filters, lids, and a suitable sealer. For a product you intend to sell, you also need a controlled process, appropriate food-handling practices, quality checks, and a shelf-life basis. Hand-sealed does not automatically mean shelf-stable.
Is a reusable K-Cup the same as a sealed pod I can sell?
No. A reusable filter is opened, filled, brewed, and washed at home. A retail pod has a sealed, protective lid and must remain fit to brew after storage and transport. They solve different jobs.
How much coffee should go into each pod?
Use a measured trial dose that fits without contaminating the rim, then brew and adjust. Cup size, grind, filter and brew volume change the best result. Check weight consistency across multiple filled pods.
What grind works in a K-Cup-compatible pod?
Start with a controlled medium-range grind and test extraction in the intended brewer. Too coarse can taste weak; too fine can slow flow or produce sediment. The best setting depends on your particular filter and coffee.
Do I need to tamp the grounds before sealing?
Usually, don’t tamp them like espresso. A light, repeatable settling step may help with fill consistency. Heavy compression can change flow and create a brewing problem. Validate whatever handling method you adopt.
Can I seal a pod with a household iron or a basic sealer?
A purpose-built, compatible small sealer is the sensible starting point for trials. A household iron gives poor control of heat, pressure, and contact time; it is not a reliable commercial process. Verify a seal with actual tests, not just its appearance.
Do sealed coffee pods need nitrogen flushing?
Not for every short-lived test batch. For retail distribution, reducing oxygen can help protect flavor, but gas flushing only works as part of a complete barrier-and-seal system. Match the process to your evidence-based shelf-life target.
How do I test a lid seal and the oxygen left in a pod?
Use a validated seal-integrity method appropriate to the package, and sample finished pods with a suitable headspace oxygen analyzer if oxygen is a control point. Record when and how samples are taken. Repeat after storage to spot leaks or barrier problems.
How long will a home-sealed or commercial pod stay fresh?
There is no honest universal number. Coffee, headspace oxygen, cup and lid barrier, seal quality, and storage all matter. A small hand-sealed batch may have a very different window from a validated commercial pack. Test flavor and package integrity before setting a date.
Should my café use a co-packer or buy a filling machine?
If demand is still uncertain, compare a small pilot and co-packer quotes before buying a line. If you have recurring orders, staff, space, utilities, and stable specifications, in-house production may offer more scheduling control. Compare saleable pods per shift and all costs, not brochure speed alone.