
A nitrogen gauge can look perfect while the capsules coming off the line tell another story. One lane may trap more air. A lid may not seal cleanly. Or a poor puncture may pull room air into the test.
Measuring residual oxygen is therefore not just “stick in a needle and read the screen.” K-Cups and Nespresso-compatible capsules have small gas spaces and different internal structures.
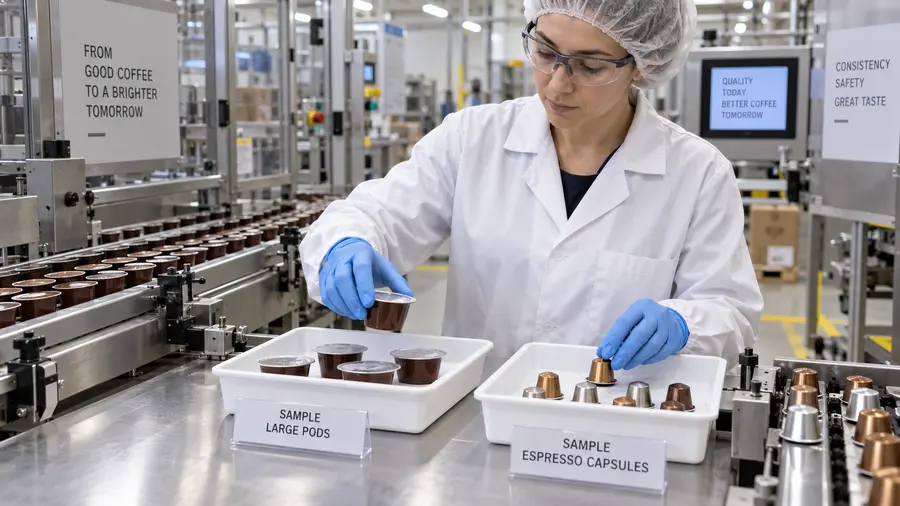
Here is a practical way to choose a method, test sealed capsules, and make sense of the numbers.
First, Decide Which Oxygen Question You Are Asking
Residual oxygen, also called headspace oxygen, is the percentage of oxygen in the gas space of a sealed capsule at a defined time. It is one part of nitrogen packaging and oxygen control, but it is not the same as nitrogen purity.
Imagine filling a glass with clean water while some old water remains at the bottom. Incoming quality matters, but it does not reveal what was left behind. Likewise, 99.9% nitrogen at the inlet does not guarantee 0.1% oxygen in every capsule. Air may remain around the coffee or enter through a poor seal.
These measurements answer different questions:
| Measurement | What it tells you | What it cannot prove alone |
| Residual or headspace oxygen | O2 concentration inside the sealed capsule now | Long-term barrier performance or the location of a leak |
| Nitrogen supply purity | Quality of gas delivered to the machine | How completely the capsule was purged |
| Oxygen transmission rate (OTR) | How quickly oxygen passes through a material or package under set conditions | Initial oxygen in a freshly sealed capsule |
| Leak or seal-integrity test | Whether a pinhole, channel, or weak seal may exist | The exact O2 percentage inside the pack |
| Shelf-life study | How the coffee and package behave over time | A universal limit for every roast and capsule |
Check nitrogen purity at the filling line when the supply gas is in doubt. Check finished capsules when you want to know whether the whole filling, flushing, and sealing process worked.
Timing changes the meaning. A fresh reading mainly checks production. An aged reading also reflects the lid, capsule wall, seal, temperature, and handling.
Choose a Method That Fits a Very Small Headspace
The best analyzer is not simply the one with the most decimal places. It is the one that can measure your capsule without changing the sample too much.
Needle-and-Pump Headspace Analyzers
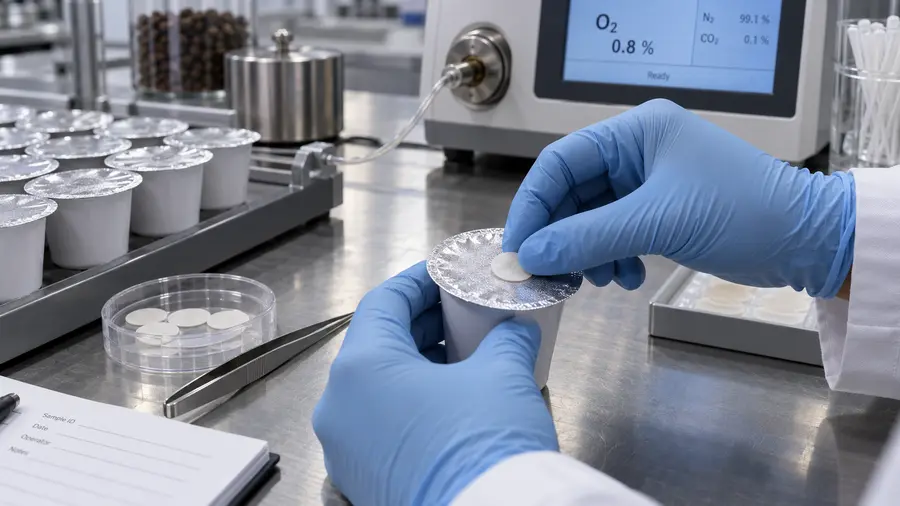
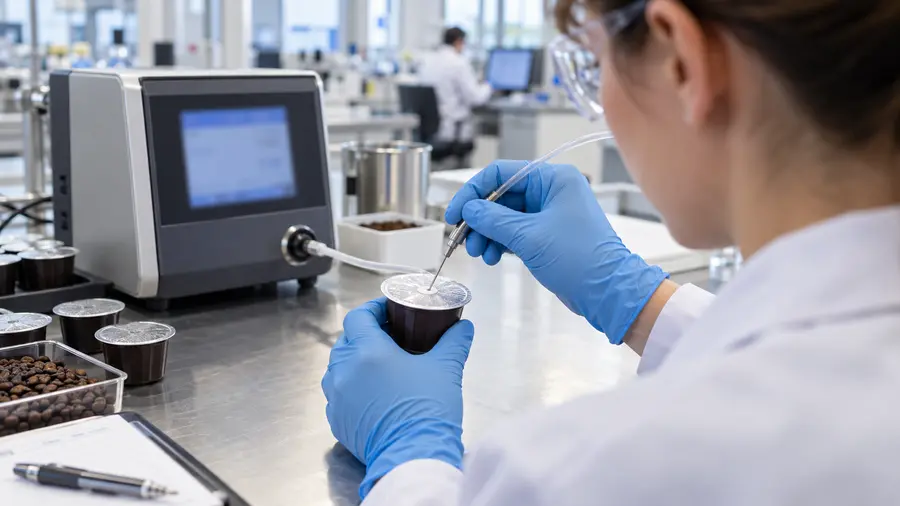
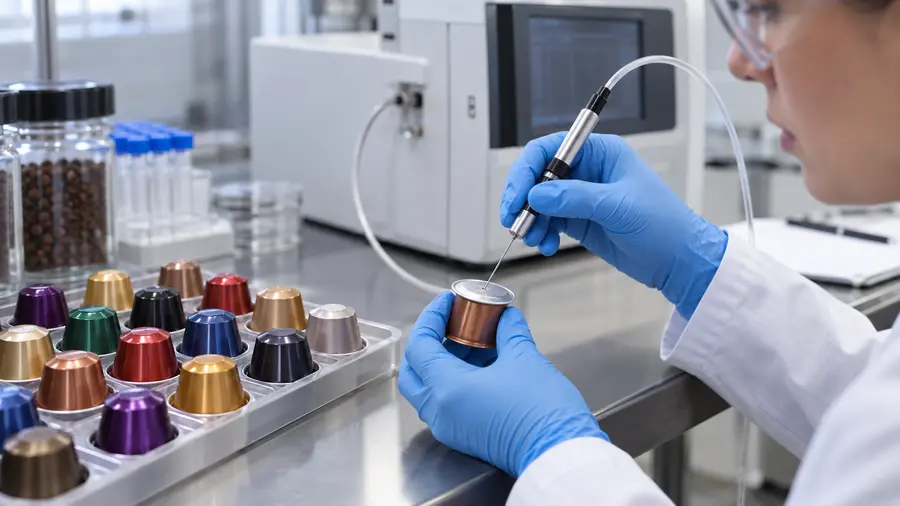
For this common at-line method, an operator applies a septum, pierces it with a hollow needle, and lets the analyzer draw gas across an oxygen sensor.
It is fast but destructive. The analyzer must not demand more gas than the capsule can provide. If its pump withdraws too much, package pressure falls and room air may creep around the puncture. The displayed value can then rise above the original level.
Do not choose by sensor name alone. Ask for sample volume, range, response time, needle design, and test evidence from similarly sized packages.
Optical Sensor Spots and Microsensors
An optical method reads a fluorescent sensor element inside the package. No headspace gas has to be pumped out.
This suits tiny capsules and repeated storage readings. There is a catch: the reader needs optical access. A transparent wall or designed window is normally required. Opaque aluminum is not magically readable from outside.
Some low-volume systems use a probe that measures directly inside a package without conventional gas extraction. The AMETEK MOCON coffee-packaging overview shows why small-headspace capability must be checked separately from bag testing.
Laboratory Reference Methods
Gas chromatography can serve as a laboratory reference method. It is slower, costlier, and less practical beside a running filler, so it fits validation better than shift checks.
| Method | Gas withdrawn | Destructive? | Good fit | Main caution |
| Needle-and-pump analyzer | Yes | Yes | Routine line checks and larger capsule headspaces | Sample demand and puncture leakage can distort a tiny sample |
| Optical sensor spot | No | Usually no | Small headspaces and repeated storage readings | Sensor must be installed and optically accessible |
| Direct microprobe or low-volume system | Very little or none, depending on design | Method dependent | Compact capsules with little available gas | Validate the probe, access point, and package geometry |
| Gas chromatography | Yes | Yes | Laboratory reference work and method validation | Slower and more complex sample handling |
K-Cups and Nespresso Capsules Are Not the Same Sample
A K-Cup usually offers more lid area and gas space. It also contains a filter and coffee bed. Push too far and the needle may meet paper or grounds instead of free headspace.
Multi-lane K-Cup filling machines can show lane differences. Five cups from one lane say little about the others.
A Nespresso-compatible capsule is more compact, and coffee may sit close to the lid. A pouch analyzer can withdraw too much gas. On Nespresso filling machines, nozzle position, flushing, dose, and sealing all affect the result.
| Format | Common sampling risk | Practical setup | Validation check |
| K-Cup | Needle reaches filter or grounds; one lane is over-sampled | Short controlled needle path through a well-sealed septum | Confirm free headspace and compare every lane |
| Plastic Nespresso-compatible capsule | Headspace is too small for the pump demand | Low-volume analyzer, direct probe, or validated optical setup | Compare repeatability with a reference method |
| Aluminum Nespresso-compatible capsule | Opaque wall blocks through-wall optical reading | Needle method or a study package designed with optical access | Prove that package modification does not change its behavior |
Before using one SOP for both formats, test repeatability, compare operators, and check whether gas withdrawal changes the result. A neat number is not enough.
How to Measure Residual Oxygen With a Sampling Needle
The exact controls depend on the analyzer, so the manufacturer’s manual still rules. The sequence below gives you a solid working framework.
Standardize the Capsule Before Testing
Set a consistent post-seal waiting time and sample-temperature range. Do not casually compare a hot capsule from the sealer with one that cooled for an hour.
Identify each sample before puncturing. Record the order, time, lane, materials, coffee, dose, speed, and key gas or sealing settings. It feels fussy. Three days later, that record is gold.
Verify and Calibrate the Analyzer
Let the instrument warm up. Run its required zero, span, or verification checks with specified gases, and record the result.
Check the needle, tubing, filter, pump, battery, and sensor. A loose fitting turns the test into an expensive room-air reading. If verification fails, stop.
Set calibration frequency from instrument requirements, use, risk, and your quality system. A dated sticker does not prove the analyzer behaves correctly today.
Apply the Septum and Place the Needle
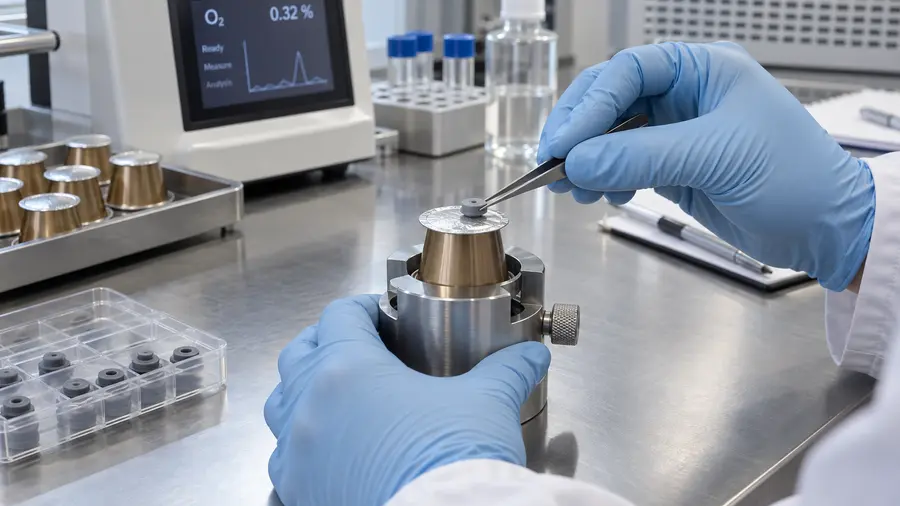
Choose a flat, clean, dry lid area above real headspace. Avoid the sealing rim and internal structures. Cut open trial capsules if needed to confirm clearance.
Press the septum firmly so outside air cannot follow the needle. It is like checking tire pressure with a loose valve: an accurate tool, spoiled by the connection.
Pierce the septum center in one controlled movement. Reach the gas space without stirring coffee or widening the hole.
Read and Record the Result
Let the approved cycle finish. Do not pull out early because the number “looks stable.” Record O2, sample ID, time, operator, and any slow response or warning.
Mark the pierced capsule as destructive waste. Then test the next random unit, not the prettiest one in the tray.
Small Habits That Prevent False High Readings
- Store septa clean and use the correct size and thickness.
- Replace bent, blunt, or clogged needles.
- Inspect every tubing connection before the run.
- Keep the needle in free headspace, not coffee or filter material.
- Confirm that the instrument’s minimum sample volume suits the capsule.
- Use the same conditioning time and temperature window.
- Train operators on the same hand position and insertion depth.
- Investigate unstable readings instead of averaging them away.
When Non-Destructive Optical Testing Makes More Sense
Optical sensing helps when a capsule has too little gas for a pump or the same pack must be tracked during storage. With no gas withdrawal, one source of disturbance disappears.
ASTM F2714-08(2021) describes fluorescence-decay headspace measurement in sealed packages. Its scope matters: the package needs a suitable coated component inside and a transparent or translucent reading path. Listing the standard on a method sheet does not make an opaque capsule compliant.
For an aluminum capsule, use a validated study window, purpose-built probe, or low-volume destructive method. A window that changes barrier or sealing behavior defeats the point.
Build a Sampling Plan Around the Line, Not Convenience
One passing capsule is a nice moment, not process control. Sampling must reveal changes across lanes and time.
Pull samples at these points:
- during startup, before and after the purge becomes stable;
- from every filling lane or track;
- during steady production at the intended speed;
- after a stop and restart;
- after changing coffee, dose, capsule, lid, material lot, gas setting, sealing setting, or speed; and
- near the end of the run.
Randomize units within those groups. Use more samples while learning a new line’s variation. Later, a risk-based plan can reduce testing without going blind.
Track the mean, range, and lane pattern. Four readings at 0.4% and one at 3.0% average 0.92%, yet the high unit still matters.
Keep storage checks separate from immediate line results. A peer-reviewed capsule and pod study followed headspace oxygen and coffee quality through 180 days. The lesson is to connect oxygen trends with material, time, temperature, and product quality—not to copy one experiment blindly.
What Is an Acceptable Residual Oxygen Level?
There is no single worldwide legal residual-oxygen limit that fits every coffee capsule. Some projects set an initial target below 1% or 2%. Treat that as an engineering and quality target, not a universal law.
The right limit depends on roast, grind, dose, trapped air, headspace, barrier, seal, shelf life, distribution temperature, and sensory standards. A dark roast on a long journey may not behave like lighter coffee sold locally.
Build the limit from trials. Pair fresh and aged readings with leak checks, sensory reviews, and suitable chemical indicators. Define alert and action levels, plus what happens after failure.
A line bouncing between 0.3% and 2.5% is less controlled than one sitting steadily near its validated limit. A few low readings do not fix that.
Read the Pattern Before Adjusting the Machine
Do not turn every knob after one doubtful measurement. Look at the pattern first.
| Observed pattern | Likely area to investigate | First checks |
| All fresh capsules read high | Gas supply, purge timing, analyzer, or line-wide sealing problem | Verify the analyzer, gas quality, flow, pressure, timing, and gas path |
| One lane runs higher | Local nozzle, tubing, coffee distribution, lid placement, or seal condition | Compare hardware, settings, and samples lane by lane |
| Reading rises or wanders during the test | Septum leak, loose connection, large puncture, or excessive gas withdrawal | Replace the septum, inspect tubing, and confirm sample-volume requirements |
| Needle response is slow | Grounds, filter material, moisture, or a clogged needle | Replace the needle and review insertion depth |
| Fresh capsules pass but stored samples rise | Material transmission, seal leakage, pinholes, or harsh storage | Run leak and barrier investigations; inspect sealing and material lots |
| Nespresso readings vary while K-Cups are stable | Test method does not suit the smaller headspace | Validate a lower-volume or optical arrangement |
| Zero or span check fails | Sensor, calibration gas, tubing, or maintenance issue | Stop release testing and restore instrument control |
If every lane reads high, start with common systems. If one lane is high, focus locally. If oxygen rises only during storage, the package or seal is the stronger suspect.
When a production issue crosses gas control, sealing, and machine timing, structured coffee capsule technical support is more useful than chasing a single reading in isolation.
Standards and Related Tests: Keep the Boundaries Clear
Standards define methods, but they do not all measure the same thing.
- ASTM F2714 covers a fluorescence-decay practice for headspace oxygen in suitable sealed packages.
- ASTM D3985 and ISO 15105-2 relate to oxygen transmission through plastic films, sheeting, or packages under defined conditions. OTR testing does not replace a finished-capsule headspace reading.
- Leak and seal-strength methods help find channels, pinholes, weak bonds, and gross package defects. They do not directly report residual O2.
- ISO/IEC 17025 concerns laboratory competence and traceability. It does not prescribe a coffee-capsule oxygen limit.
- GMP and HACCP-style controls support documented procedures, instrument checks, traceability, deviations, and corrective action. Again, they do not create one global percentage.
The barrier and forming behavior of aluminum and plastic capsule materials affect oxygen during storage. Headspace, OTR, and leak data work best together.
Turn Oxygen Testing Into a Machine Acceptance Check
Residual oxygen can be part of a factory acceptance test or site acceptance test for coffee capsule filling machines. Agree on the rules before the trial begins.
Use the customer’s real coffee, capsule, lid, and intended speed where practical. Test every lane, include a stop and restart, and document the analyzer, method, timing, sample count, target, and outlier rules.
One beautiful 0.3% capsule beside nine scattered results does not demonstrate control. The goal is repeatable performance under real production conditions. Less glamorous, perhaps, but more useful.
Conclusion
Reliable residual oxygen testing starts before the needle touches the lid. First define the question. Then match the analyzer to the capsule’s headspace, control the sampling conditions, and compare results across lanes and time.
A fresh reading tells you about flushing and sealing today. Stored readings, leak tests, and OTR data show what happens next. Put those pieces together and the oxygen number becomes a real quality-control tool—not just a figure on a screen.
FAQs
What is residual oxygen in a coffee capsule?
It is the oxygen concentration in a sealed package at a defined time, usually reported as a percentage. It differs from nitrogen purity and oxygen transmission rate.
How do you measure oxygen inside a sealed K-Cup?
Apply a septum to the foil lid, pierce it with the analyzer needle, and take a controlled gas sample. Keep the needle in free headspace, away from the filter and grounds.
Can an aluminum Nespresso capsule be tested without opening it?
Only a suitable built-in optical setup allows non-destructive testing. Opaque aluminum blocks a simple external optical reading, so a validated probe method is often used instead.
Where should the sampling needle enter a coffee capsule?
Use a clean, flat lid area above confirmed headspace. Avoid the rim, coffee bed, filter, and internal parts. Apply a septum first.
How much headspace gas does an oxygen analyzer need?
Check the analyzer’s stated sample demand against the capsule’s actual free volume. A device used for coffee bags may not suit a compact pod.
What residual oxygen level is acceptable for coffee capsules?
Some projects target below 1% or 2% after sealing, but this is not universal. Validate the specification against the product, package, storage, and shelf life.
Is nitrogen purity the same as residual oxygen?
No. Nitrogen purity describes incoming gas. Residual oxygen describes what remains after filling, flushing, and sealing.
How often should a coffee capsule line be tested?
Test at startup, across every lane, during stable production, after stops or changes, and near run end. Set frequency from process risk and line stability.
Why does residual oxygen rise during storage?
Oxygen may pass through materials or enter through a weak seal or pinhole. Compare aged headspace results with leak and barrier tests.
Do I need both a headspace analyzer and a leak or OTR test?
Often, yes. Headspace analysis measures internal oxygen. Leak testing checks integrity, while OTR testing measures oxygen transfer through the material or package.